


How to change the GNR filter for a dieselcar
Changing the filter of a diesel car is an essential maintenance operation to ensure the proper functioning and longevity of your vehicle. A clogged filter can lead to excessive consumption, reduced performance, and, in some cases, breakdowns. Here are the detailed steps to perform this task correctly.
Equipment Required
- A new filter adapted to your diesel model
- No tools required!
- A clean cloth
- A pair of gloves and goggles
- A container to collect oil or fuel residue
Steps for Changing a GNR Filter for a Diesel
- Prepare the Device Before any work, make sure your diesel is off and cool to avoid any risk of burns. Place a container under the filter to catch any fuel or oil leaks.
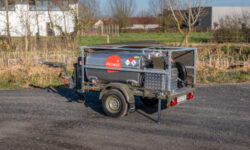
- Locate the Filter The filter is usually located near the fuel pump. Consult your diesel’s owner’s manual to identify its exact location.
- Remove the Old Filter Drain any remaining fuel from the filter reservoir, manually unscrew the reservoir, and remove the old filter.
- Clean the Filter Holder Before installing the new filter, clean the contact area with a clean cloth to remove any dirt or oil.
- Install the New Filter Apply a thin layer of oil or fuel to the gasket of the new filter to ensure a proper seal. Screw the filter in by hand until it’s securely in place, then lightly hand-tighten.
- Check the Installation Turn your diesel’s fuel pump back on and let it run for a few minutes to check for leaks. If everything is working properly, the filter replacement is successful.